When you launch QSO Director for the first time there are a few extra steps you'll need to complete in order to get up and running. This guide will take you through everything to get you going as smoothly as possible.
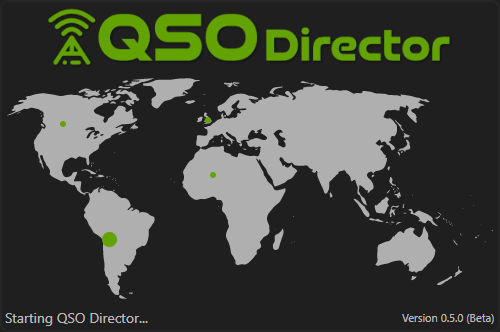
1 - Launch QSO Director
From your Start Menu (Windows), Launchpad (Mac) or Application Menu (Linux).
You will initially see the splash screen displayed
2 - Accept the EULA
You will then be presented with the End User License Agreement
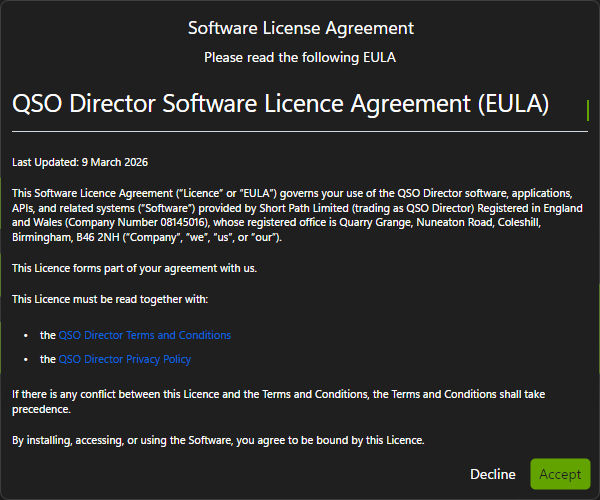
If you're happy to do so, click on "Accept" in order to continue. You will only be shown this when running QSO Director for the first time or if the EULA changes in the future.
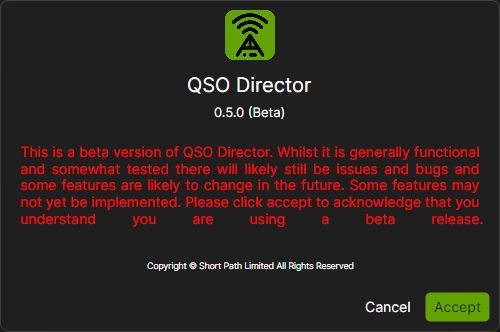
3 - Beta Notification
If the version is a Beta release then you will be given a brief warning making you aware of what this means. Click Accept to continue. This notification is shown each time QSO Director is launched.
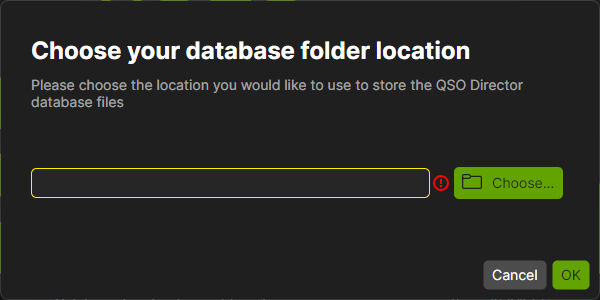
4 - Database Location
You will now need to choose the folder location you would like QSO Director to use for it's database and related files. You can either enter the folder location manually in the box provided or click the "Choose" button to select the folder. Once you have selected the folder click "Ok".
5 - Sign In
You will now be prompted to sign into QSO Director.
It is required to sign in at least the first time you run the software so that the software license can be established. QSO Director will do this periodically.
Once you are signed in, you will not be prompted again.

If you choose "No" at this point, you will be alerted that you must sign in to validate the software license.
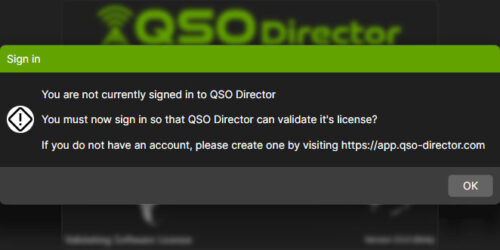
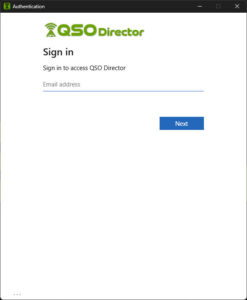
If you chose "Yes" to the sign in choice earlier or if QSO Director alerted you that it must validate it's license, you will be shown the sign in screen. You should use your credentials for the QSO Director web application that you created when signing up for the software.
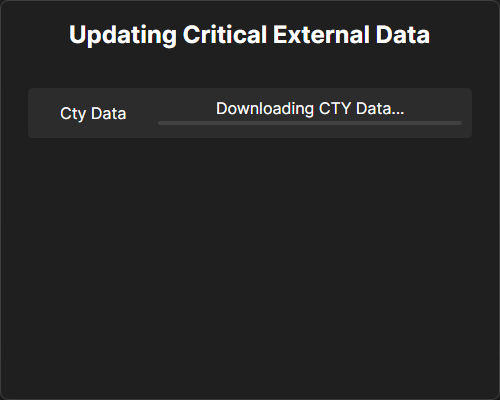
6 - Critical External Data
QSO Director will now download any external data that is critical to it's operation. This will happen automatically and will continue to the next step once it's complete without you having to do anything.
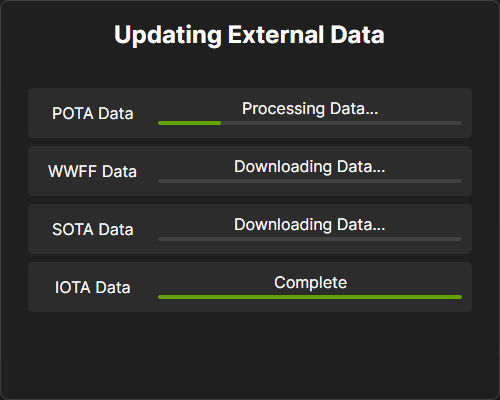
7 - Optional External Data
You will now be asked if you want to update the optional external data. You do not have to do this now but we would recommend that you do so.
If you click "Yes", QSO Director will automatically download and process all the optional external data it needs. It will continue as soon as it's completed. You will be shown a progress window while it's performing the download and processing.
8 - Station Information
As this is the first time you are running QSO Director you will need to provide some basic information about your station. If you make a mistake or need to change anything later, this can be done so in the application settings.
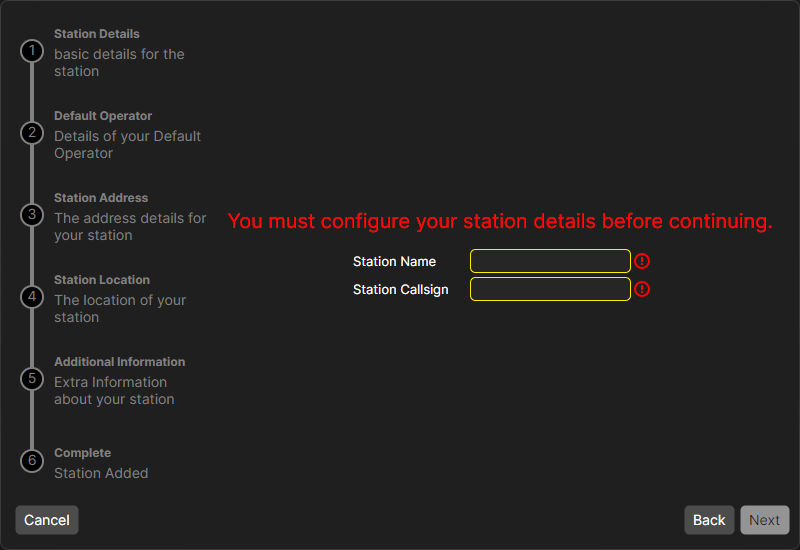
a) Station Details (Required)
Enter a name for your station, this can be something like "Home" or "Remote Shack". It is purely descriptive as QSO Director supports multiple station locations and the name will allow you to distinguish between them should you use this feature.
You will also need to enter the station callsign, this is typically your callsign but for a multi-operator station this will be the callsign you use on air.
Click "Next" to continue
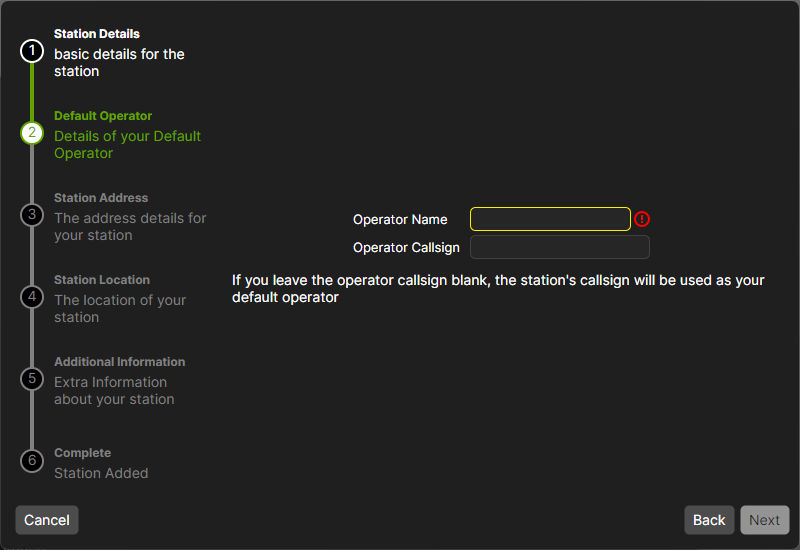
b) Default Operator (Required)
Now we need to provide details about the default operator. For most people this will just be your name. You can add additional operators should you need to later.
If your own callsign differs from the station callsign, you can also enter this now as the operator callsign.
Click "Next" to continue
c) Station Address (Optional)
You can now enter the address of your station. This information is optional but recommended.
Click "Next" to continue

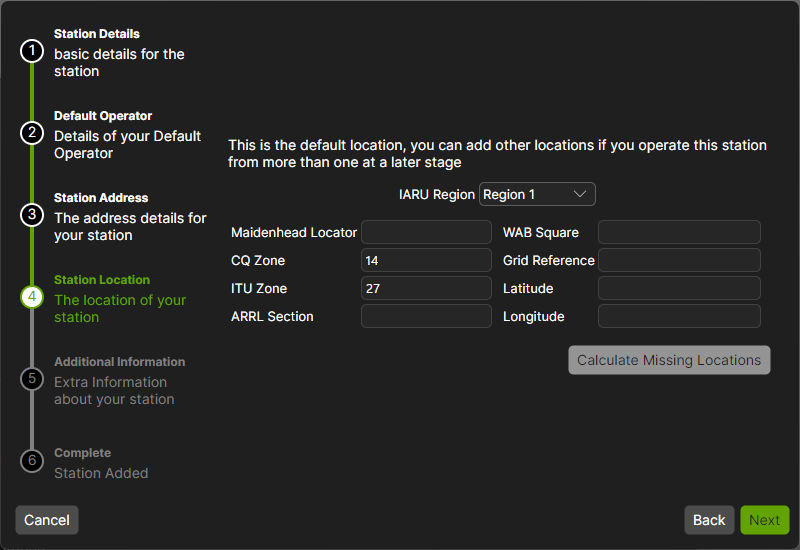
d) Station Location
You will now need to select the IARU Region in which your station is located. By default "Region 1" will be selected but if you are located in region's 2 or 3 you will need to change this. This is important to set correctly as it controls the band layouts.
You can then enter information about the location of the station. Once enough information has been added the "Calculate Missing Locations" button will become active which will allow the software to automatically complete the remaining fields based on what you've already entered.
Whilst this informaiton is optional, some features such as the mapping will not work correctly unless it is entered.
Click "Next" to continue
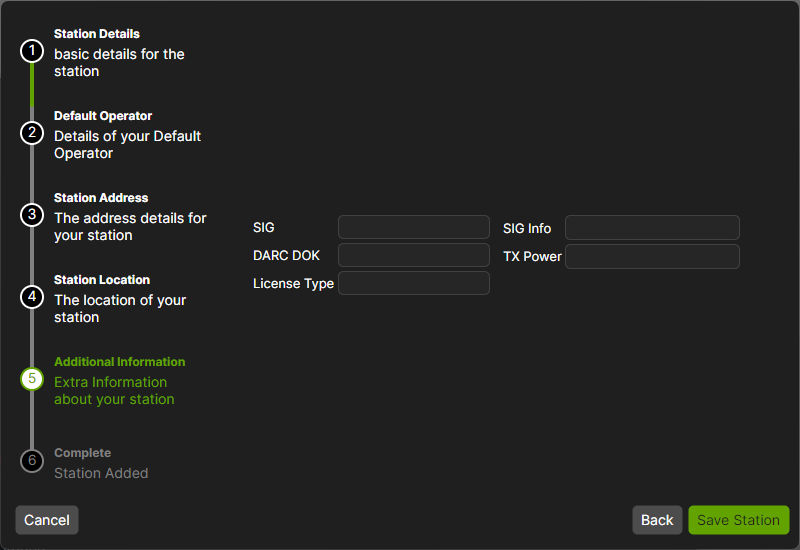
e) Additional Information (Optional)
You can now enter some additional information about the station such as Special Interest Group or TX Power.
Once completed, Click "Save Station" to continue
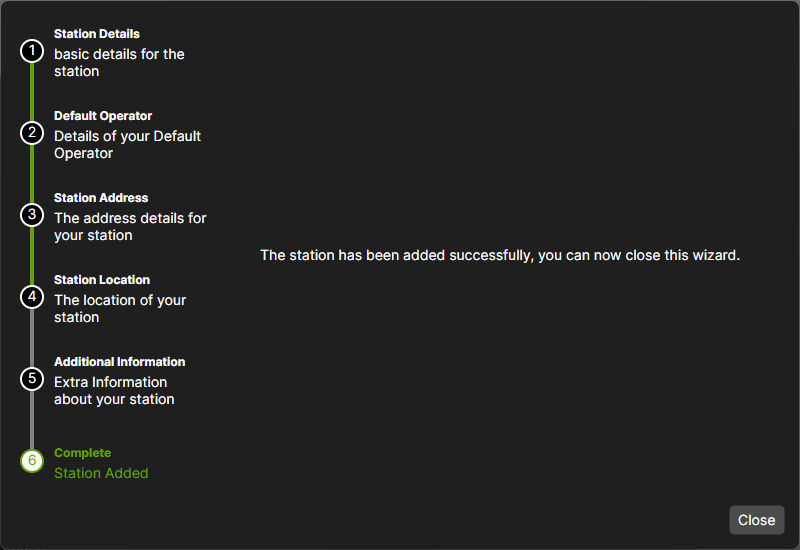
f) Complete
You can now enter some additional information about the station such as Special Interest Group or TX Power.
Click "Close" to continue
9 - Choose your activity
You will now be asked to choose an activity. The activity chosen changes the way in which QSO Director operates to give you the best possible experience when operating in that particular activity.
Options that are not yet available in the software will be greyed out. They will become active once those features are added to QSO Director.

10 - Enjoy
The main QSO Director interface will now be displayed
